Thermal Transformation in Northcote
In 2018, my partner and I moved into a 76m2 2-bedroom villa unit in Northcote. The unit was built in the 70s and sits between 3 other single storey units. Soon after we moved in we started making gradual improvements to the home, mostly doing the work ourselves.
Firstly, we made one important change to the floor layout: we removed the walls separating the kitchen and the laundry and integrated these two rooms into one space. This brought much more northern sunlight into our main living area, while also improving the functionality and feel of the kitchen.
Integrating the laundry with the kitchen brought more northern sunshine into our living area
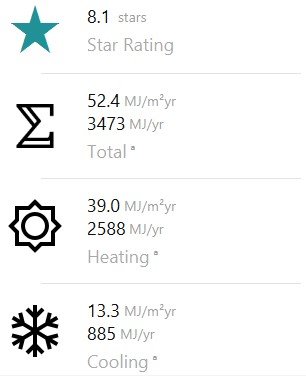
Being an energy-rating nerd, I modelled the star-rating of the house as it was when we moved in, and then modelled the potential rating of the house after making all the improvements we wanted to make. The star rating for the existing house was 4.2 stars, and after making all the improvements the rating will be 8.1 stars, a whopping 72% drop in predicted energy use for heating and cooling. The modelling was done in BERS Pro software and then cross-checked in HERO, where we got the same results (as we should!).
The Star Rating before renovating
The Star Rating after renovating
Although better than the average existing Victorian home - which is estimated to be 1.8 stars - 4.2 stars is by no means a good rating. With no insulation to speak of in the walls and floor, rattly single pane aluminium windows, and draughts coming through all kinds of gaps, the home needed the central heating on everyday in winter, and would heat up very quickly in summer. Condensation would drip down the aluminium window frames and glass on cold nights, leaving us with a nice layer of mould on the window sills.
We began our improvements with the cheapest and most effective methods first: Sealing up gaps, and installing curtains with pelmets. Gap-sealing involved filling in the obsolete wall cavity vents, installing draught-stoppers on the front and back doors, and generally caulking up gaps wherever practical. We built some simple timber pelmets above the main large windows in the house, and installed full-height thick curtains which we sourced second-hand.
We also installed another layer of R3.5 insulation batts in the ceiling bringing the total to R7. I installed the insulation as thoroughly as possible; small gaps in insulation compromise its effectiveness significantly and there were some major gaps in the existing insulation layer. (Note: next time I would save a bit of money by going with R2 batts instead; according to the modelling there is virtually no difference between R5.5 and R7 insulation in the ceiling, at least in Melbourne’s climate zone).
Because my thermal modelling showed that we could reach 8.1 stars, we felt fully confident about removing the ducted gas heating once it died. And die it did - just in time for winter. The good thing about removing ducted systems is you can patch up all the holes it creates in the thermal envelope - in this case the floor vents in each room. We removed the ducts, patched the timber flooring, and then had R2 polyester insulation installed beneath the floor.
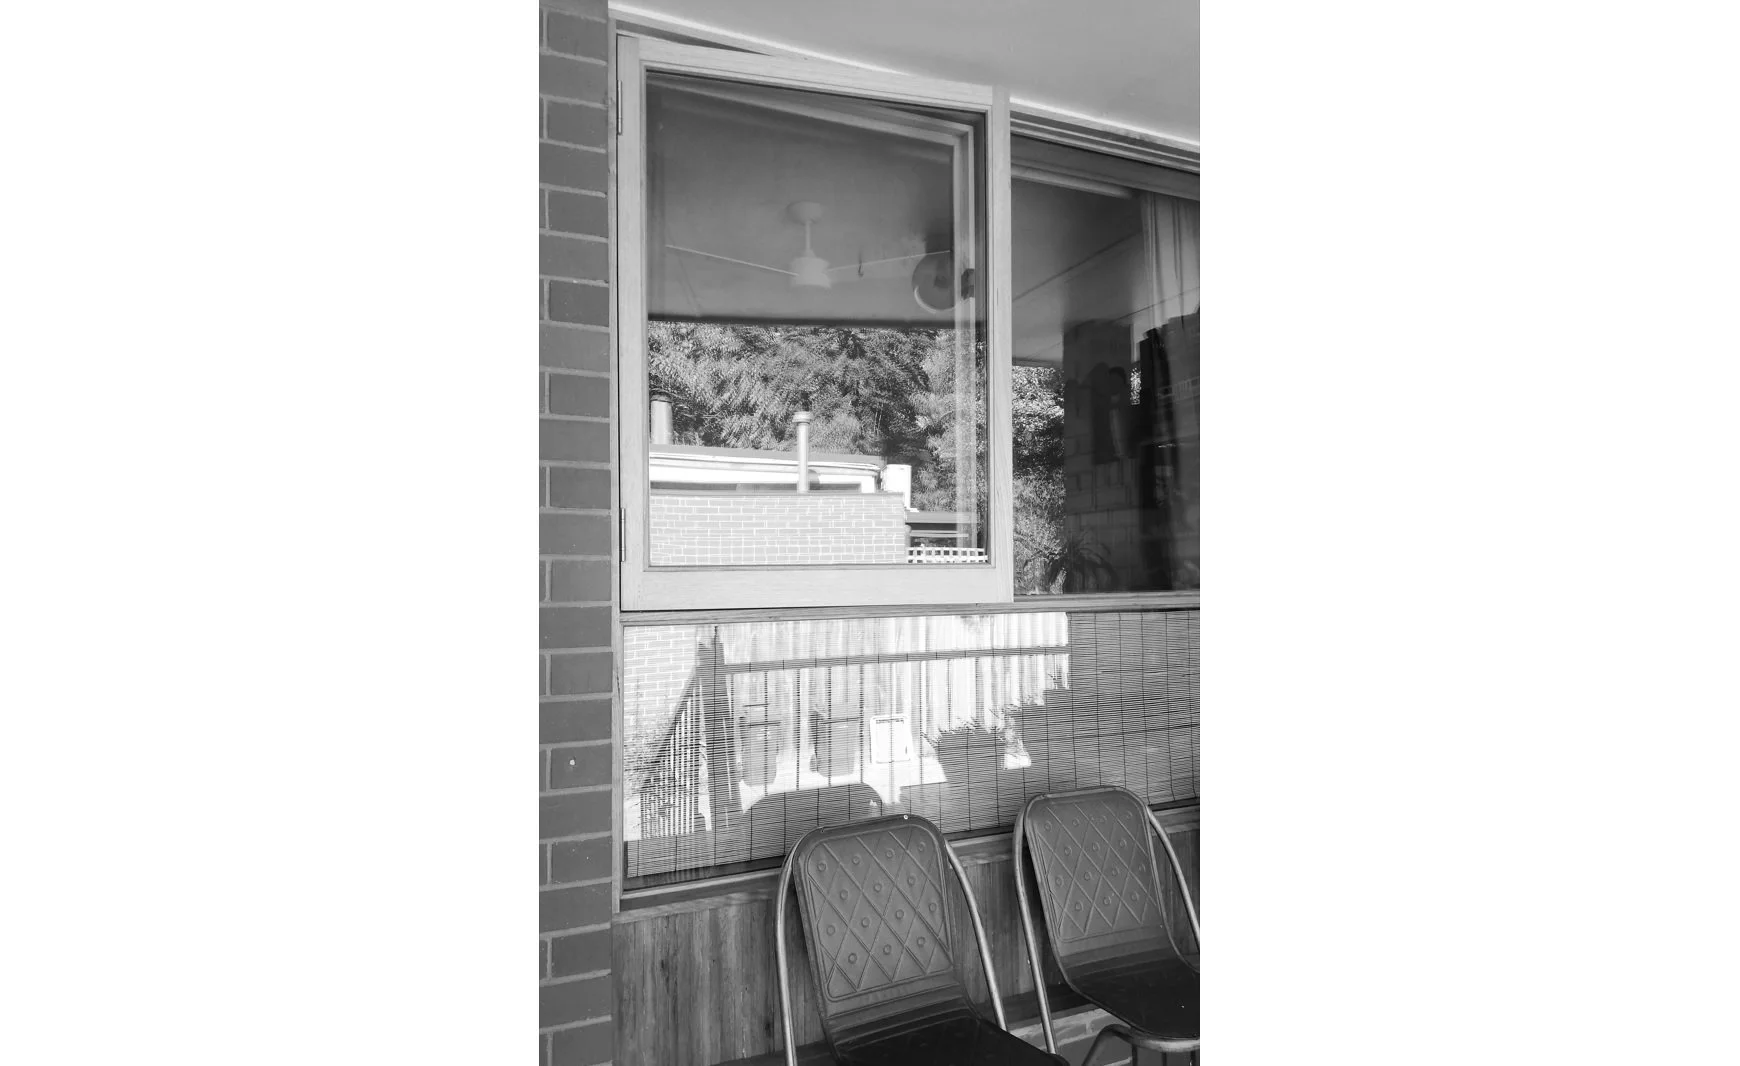
Installing a timber double-glazed window with a higher sill gave us more privacy in the main bedroom and meant we could build a bed platform beneath the window sill.
While the above improvements made a noticeable difference, there is only so far you can go with uninsulated walls and single glazing. Slowly we have been replacing the old aluminium windows with timber-framed double-glazed argon-filled windows. As we replace the windows, we’ve been installing R2.5 insulation batts into the walls where they are placed. We’ve been taking the time to ensure there are no gaps in the insulation around the window frames - something that is all too commonly ignored.
We’ve made some small changes to window sizes: the north-facing kitchen window is slightly larger, while the large windows in the lounge and the 2 bedrooms all have had their sills raised. Reducing the size of these windows has actually made them better and more functional - the lounge window can now fit a bench seat beneath it and the bedroom has more privacy. A common error when designing houses is to specify over-sized windows; the problem being that even with high-performance windows, energy ratings are significantly impacted by glass-to-floor area ratios. The best approach is to use window sizes appropriate to their function and the desired level of daylight; but no larger than needed.
We still have 2 more windows to replace and 2 external walls to insulate, but we’ve certainly noticed the difference. As expected, the single reverse-cycle air conditioner in the living area is enough to quickly warm up the house in winter, and we no longer need to use heating everyday. We use a small electric heater in the bedroom for about 20 minutes on cold nights, and in the morning the room is still warm. The house copes much better in heatwaves too, due to the added insulation and better windows. As a big bonus, the house is much quieter now.
The lounge room has only recently had the main window replaced and insulation added to the external walls, so even though no one in Melbourne has ever said this, we’re actually looking forward to seeing how the house goes this winter!
More to come…


